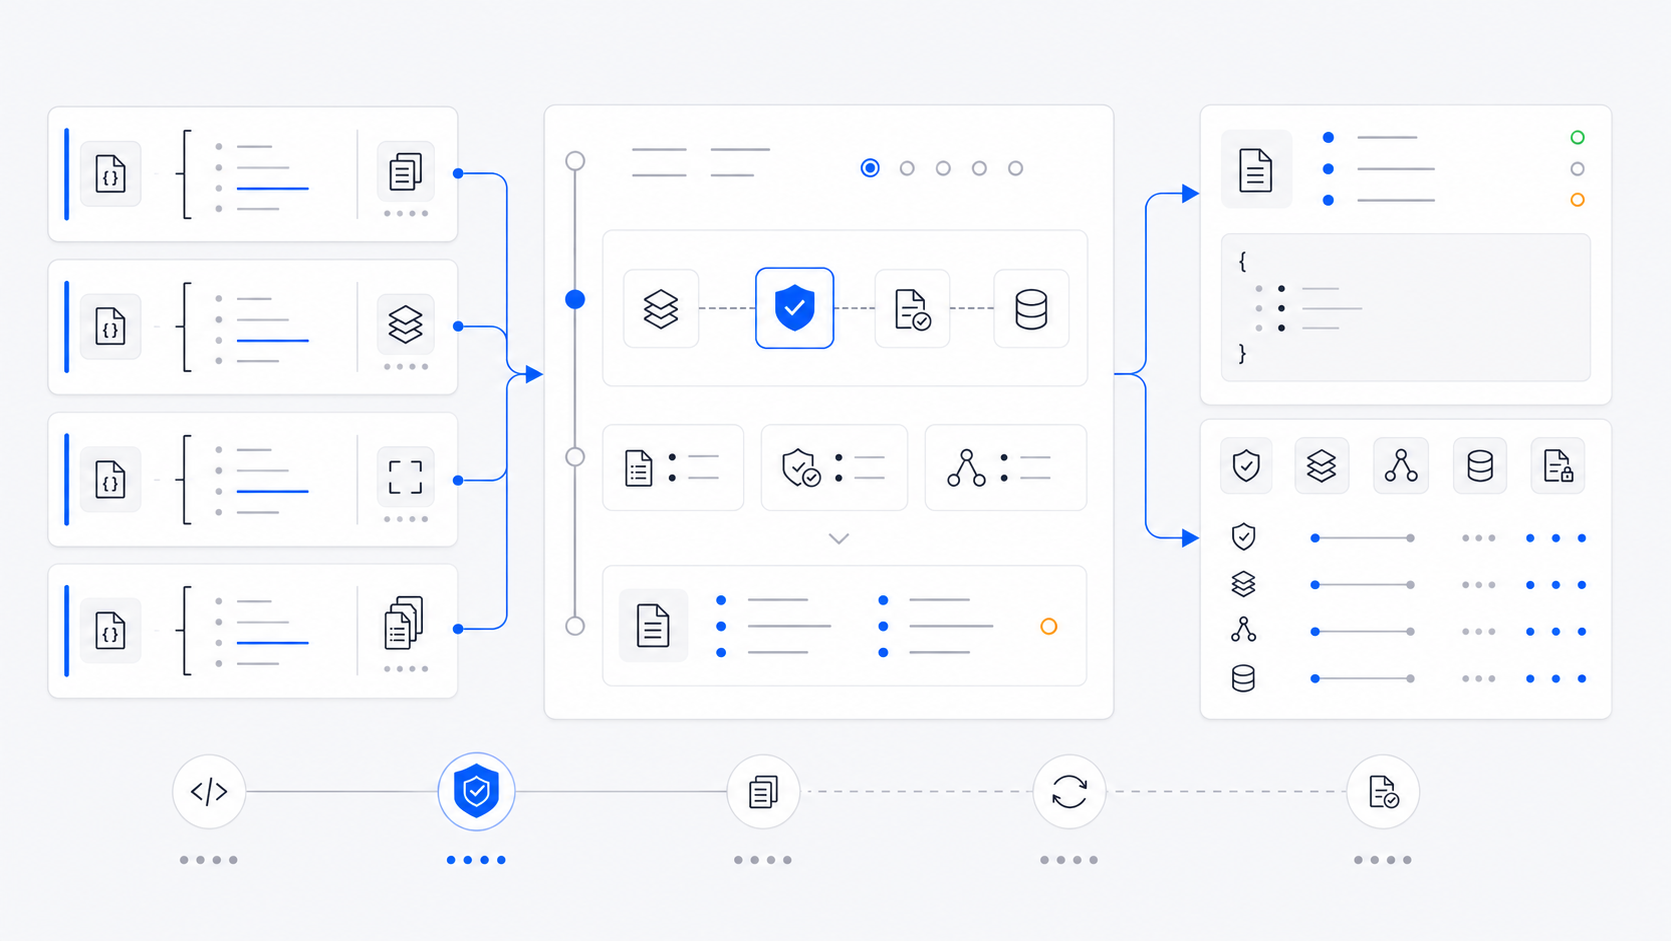
Most FHIR teams start validation in the same place: someone adds the HL7 validator to a CI pipeline, points it at a folder of example resources, and calls the build red when the validator reports errors.
That is a good first step. It is also easy to make it too heavy, too noisy, or too detached from the way developers actually work.
A useful FHIR validation gate should have four properties:
- It runs on every pull request.
- It validates the files developers are already changing.
- It prints failures in a format CI systems can consume.
- It leaves a path to deeper profile, terminology, baseline, and evidence workflows later.
The public @records-fhir/cli package is built for that first layer. It gives FHIR teams a free local validation gate that runs from npm, with JSON and JUnit output for CI. Teams that need configured server validation, baselines, drift detection, or release evidence can use the same CLI against a Records API.
The minimal GitHub Actions gate
Create .github/workflows/fhir-validation.yml:
name: FHIR validationon: pull_request: paths: - "fhir/**" - "examples/**" - ".github/workflows/fhir-validation.yml"jobs: validate-fhir: runs-on: ubuntu-latest steps: - name: Checkout uses: actions/checkout@v7.0.1 - name: Setup Node.js uses: actions/setup-node@v7.0.0 with: node-version: "22" package-manager-cache: false - name: Validate local FHIR resources run: | npx --yes @records-fhir/cli@0.1.1 \ validate-file ./fhir \ --format junit > fhir-validation.xml - name: Upload validation report if: always() uses: actions/upload-artifact@v7.0.1 with: name: fhir-validation-report path: fhir-validation.xmlThis workflow does not require a Records account. It runs the CLI from npm, validates the local ./fhir folder, uses the local structural-check mode, and writes JUnit output so the result can be collected by CI tooling.
The example uses Node.js 22 LTS and the action releases checked on 24 September 2026. Node.js 20 is now end-of-life; choose a supported release from the Node.js release schedule. The action versions are documented in the official checkout, setup-node, and upload-artifact release notes.
If your resources live somewhere else, change ./fhir to the directory that contains your test resources, sample bundles, or generated fixtures.
Why validate-file belongs in CI
FHIR validation is often treated as a certification or integration task: run a validator when a release is almost done, then fix whatever breaks. That is late. By the time CI finds a profile violation, the resource shape may already be baked into mapping code, test fixtures, API contracts, and UI assumptions.
A pull-request gate moves the feedback earlier. It does not prove that production data is valid, but it catches the obvious mistakes before they ship:
- missing elements covered by the bundled structural checks
- incorrect primitive types, such as a string at
Patient.active - unsupported resource types
- regressions within that checked scope
That is the right scope for CI. Keep the gate narrow, deterministic, and cheap to run.
The public CLI 0.1.1 structural mode was checked with the downloadable incorrect Patient and corrected Patient: Patient.active changes from a string to a boolean, and the exit code changes from 1 to 0. This is a bounded type check, not full profile or terminology validation.
Verify that the gate detects a deliberately broken example for your resource types. A zero exit code alone does not prove that every nested Bundle entry, reference or declared profile was checked. The EHDS teaching lab documents that boundary for the public CLI; a configured Records check has a separate profile and terminology basis.
Make failures readable
For local debugging, plain terminal output is usually enough:
npx --yes @records-fhir/cli validate-file ./fhirFor CI systems, machine-readable output is more useful:
npx --yes @records-fhir/cli validate-file ./fhir --format jsonnpx --yes @records-fhir/cli validate-file ./fhir --format junitUse JSON when another script will parse the result. Use JUnit when your CI system or reporting layer expects test-style XML artifacts.
The important point is that validation output should survive the failed job. A red build with no artifact is a weak signal. A red build with a structured report is something the team can inspect, archive, and compare.
Pin the package when the gate becomes critical
The workflow above pins the public CLI version. Keep that pin when adding the step to another pipeline:
- name: Validate local FHIR resources run: | npx --yes @records-fhir/cli@0.1.1 \ validate-file ./fhir \ --format junit > fhir-validation.xmlPinning avoids surprise behavior changes when a new CLI version is published. The same principle applies to profiles, terminology snapshots, and any validator dependency in your quality pipeline: if you want reproducible results, lock the inputs.
Add a Records API gate when local checks are not enough
Local validation is the first layer. It is good for pull requests and fast feedback. It does not replace configured validation against the same profiles, terminology assumptions, environments, and baselines your team uses for release decisions.
For that, run the same CLI against a Records API:
- name: Records validation gate run: | npx --yes @records-fhir/cli \ validate "${{ secrets.RECORDS_SERVER_ID }}" \ --api-url="${{ secrets.RECORDS_API_URL }}" \ --auth-token="${{ secrets.RECORDS_AUTH_TOKEN }}" \ --environment prod \ --json > records-validation.jsonThe difference from the local gate is the command itself. validate-file <path> checks files on disk and needs no credentials; validate <server-id> runs a configured validation against a Records API, using your server's profiles, terminology, and environment. That moves the workflow from a local file check to a configured Records validation run. The distinction matters:
- local CLI gate: fast, free, developer-facing
- Records API gate: configured, team-facing, connected to baselines and evidence
Use the local gate to stop obvious regressions. Use Records when the question becomes: did this release change validation status, drift from baseline, or produce evidence we can show later?
What CI still cannot answer
A GitHub Actions gate answers a narrow question: did this pull request introduce a validation problem in the resources we checked?
It does not answer whether production data is valid right now. It does not catch terminology drift that happens without a commit. It does not inspect legacy resources already stored in a FHIR server. It does not produce a longitudinal evidence trail by itself.
That is not a failure of CI. It is a boundary.
FHIR quality needs layers:
- local validation while developers build resources
- pull-request validation before changes merge
- release validation against configured profiles and baselines
- continuous validation against real environments
- evidence that records what changed, when, and under which validation inputs
The GitHub Actions gate is the easiest layer to add. Start there, keep it boring, and make the next layer explicit.